Leaky faucet? The $10 part most people don't know about
This guide recommends one product, with an Amazon affiliate link. If you buy through it, I may earn a commission at no extra cost to you. Read the affiliate disclosure.
The short answer
A faucet that drips from the spout is usually a worn cartridge, O-ring, or washer — a small part that costs about $10. The fix takes about 20 minutes, once you know which part your faucet takes.
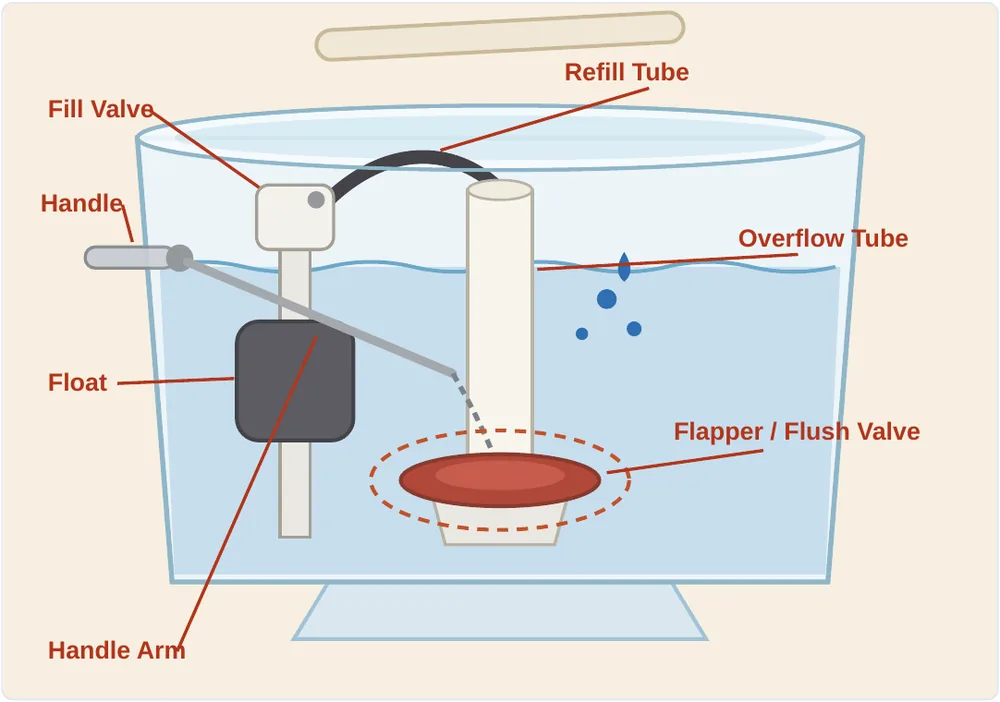
- Cartridge — the plastic or brass valve inside the handle that controls the water flow.
- O-ring — a thin rubber ring that seals around a moving part.
- Washer — a small rubber disc that presses down to shut the water off (common in older two-handle faucets).
- Cap nut — the round nut under the handle that holds the cartridge in place.
What you need
- Adjustable wrench, screwdriver, and an Allen wrench set.
- A new cartridge or O-ring kit, matched to your faucet. Take the old one with you.
- Old towels and a small bucket.
Step by step
Step 1 Shut the water off first
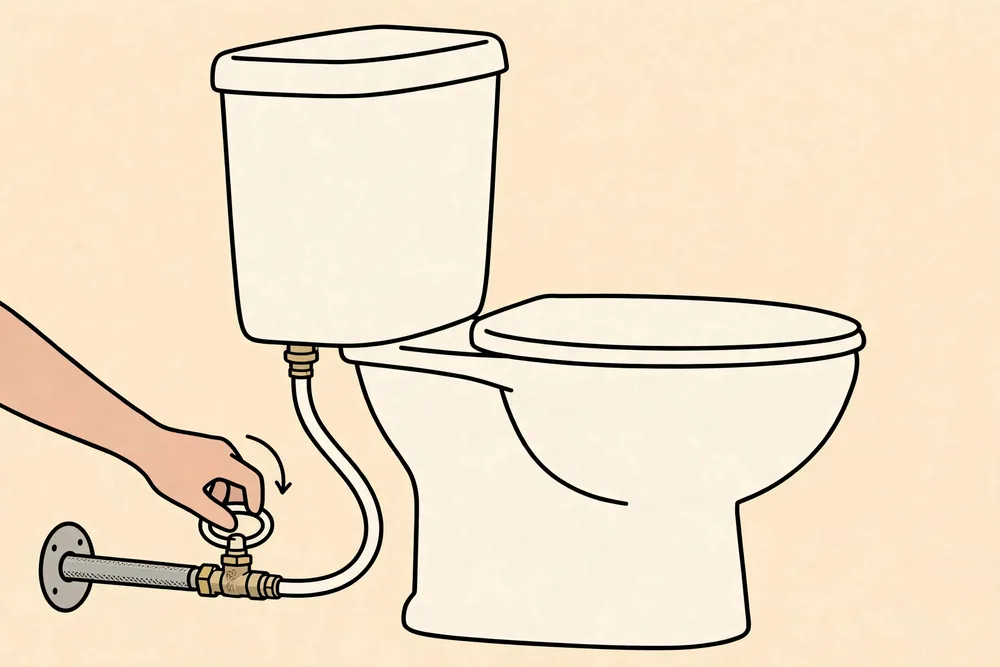
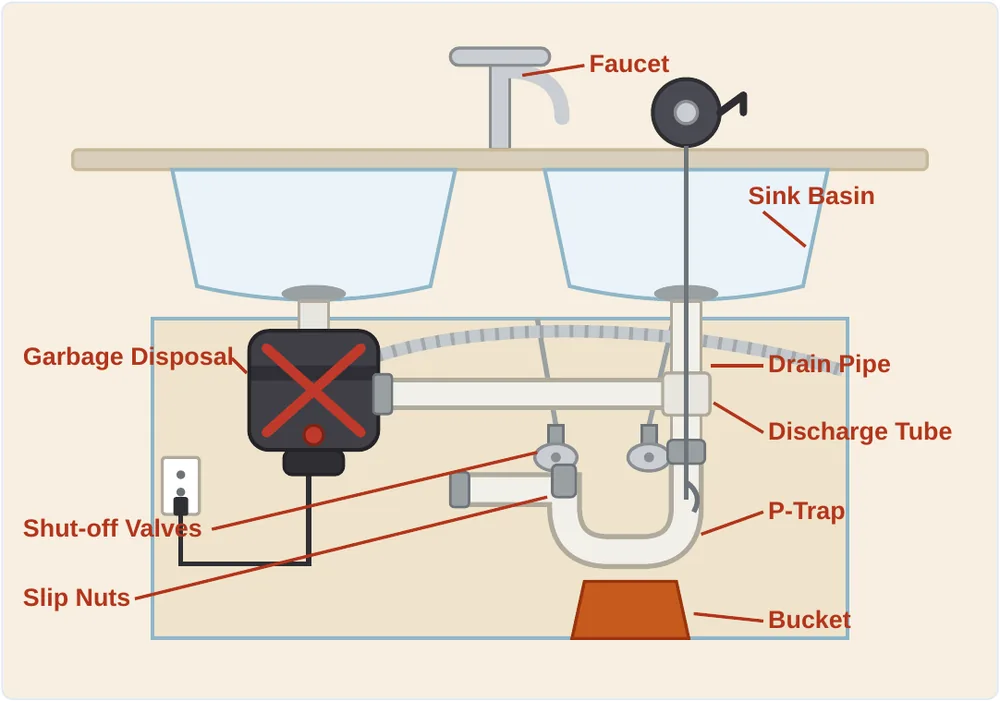
Turn off both shut-off valves under the sink — hot and cold, clockwise until they stop. Hot is usually on the left, cold on the right. Open the faucet to let the pressure out. Plug the drain so no small screw falls down it.
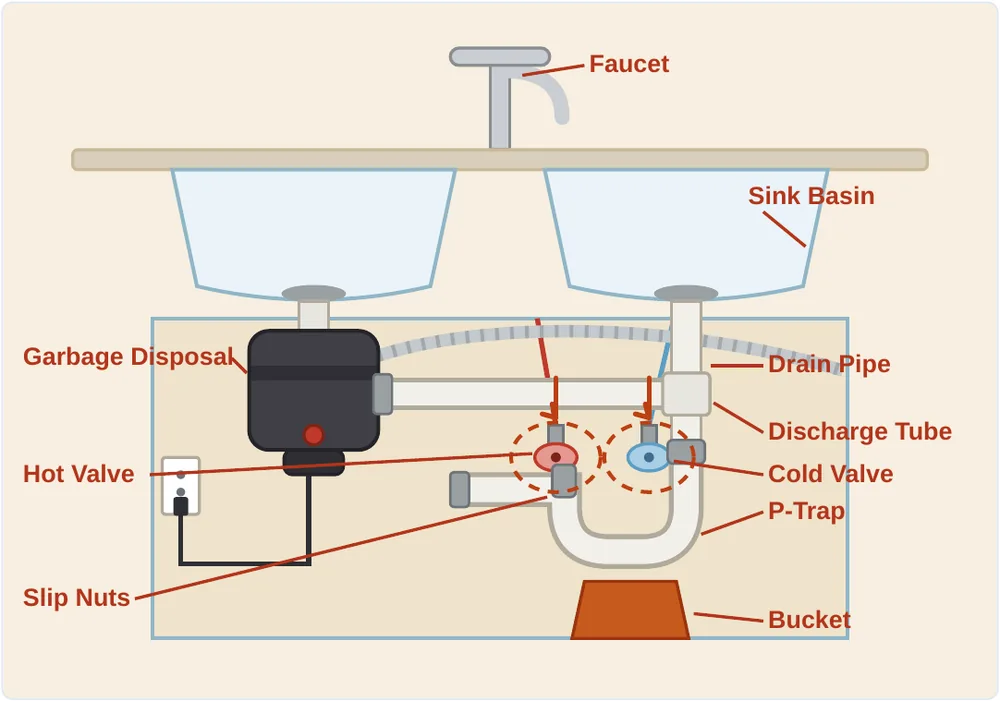
Hot (red) is usually on the left, cold (blue) on the right. Step 2 Find where it leaks, and what type it is
- Drips from the spout, even with the handle off — the cartridge or washer inside is worn.
- Leaks around the base or handle — an O-ring is worn.
- Single handle — it almost always has a cartridge inside.
- Two handles — each handle has its own washer or cartridge. Fix the side that leaks. Not sure which side? Turn off one shut-off valve at a time and see which one stops the drip. Use the same steps below for that handle.
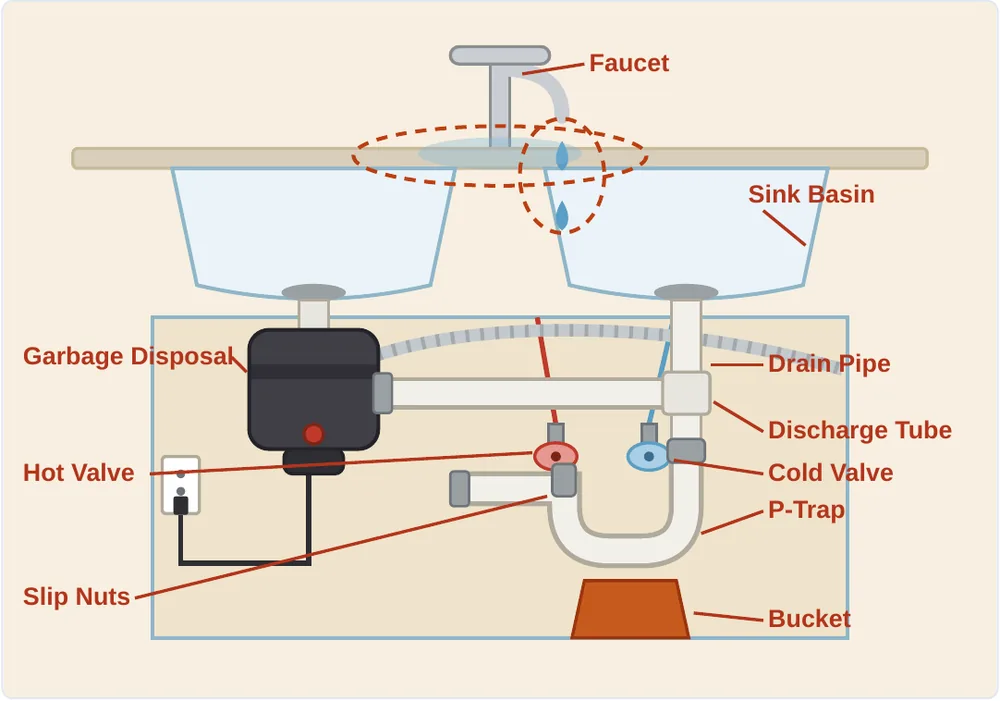
Spout drip = cartridge or washer. Base or handle leak = O-ring. Step 3 Take the handle off and pull the old part out
Find the small screw — under a cap on the handle, or a set screw on the side — and take the handle off. Unscrew the cap nut, then pull the cartridge straight out. If the rubber seals are cracked, flat, or hard, that is your leak. Take it with you to match the new one — cartridges look alike but are not interchangeable.
Tip: take a photo of each part as it comes out, in order. It makes putting it back together much easier.
Step 4 Put the new part in the same way
Put the new cartridge or O-ring in exactly the way the old one came out — same direction, same way round. A cartridge put in backwards will not shut off. Put the cap nut back on, snug but not forced, and put the handle back on.
If you're replacing O-rings, the kit I recommend: Danco 34443 Rubber O-Ring Kit (200 pieces, 12 sizes).
Step 5 Turn the water back on and test it
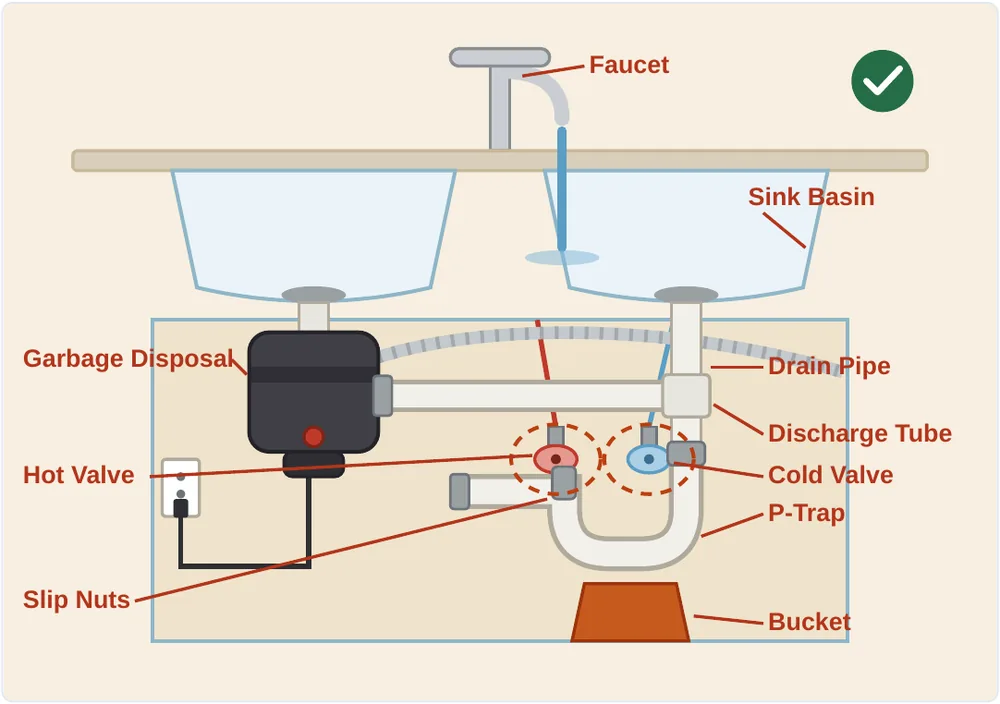
Turn the shut-off valves back on slowly, then open the faucet. Let it run a minute, shut it off, and watch the spout. No drip means the new seal is holding. Check under the sink and around the base too — no drips there either.
What not to do
- Don't take the faucet apart with the water still on.
- Don't buy a cartridge without matching it to the old one.
- Don't force the cap nut — overtightening cracks it.
When to call a plumber
- The shut-off valves will not turn, or they leak when you touch them.
- The cartridge is stuck, or the faucet body is corroded.
- It still drips after a new cartridge and new O-rings.
Why this works
A faucet shuts off by pressing a rubber seal against a seat, or by turning a cartridge so its holes no longer line up. When that rubber wears out, water slips past and drips. A new cartridge or O-ring seals again — usually a $10 part instead of a new faucet or a plumber call.
Free printable California Earthquake Checklist
Get the one-page checklist — what to do this week, this month, and when the shaking starts and stops. Stick it on the fridge.
No spam. Unsubscribe anytime. See the privacy policy.
Disclosure and disclaimer — please read
Disclosure: This guide recommends one product, with an Amazon affiliate link. If you buy through it, I may earn a commission at no extra cost to you. Read the affiliate disclosure.
Disclaimer: This guide is general information only, not professional plumbing advice. I am not a licensed plumber. Every faucet and home is different, so use your own judgment, turn off the water first if you are unsure, and stop if anything looks wrong. If you are not comfortable doing any step, call a licensed plumber. By following these steps you do so at your own risk — I am not responsible for water damage, injury, or any other loss that may result.